Who’s behind it
(alphabetical order no jealous)
The main team
- Carl Karsten (boards-master/testing/writing)
- Jonathan Bisson (bottle-washing/conception/testing/writing)
- Peter Zieba (testing/writing)
- Stephan Kulov (soldering/testing/writing)
Other thanks
Ground-rules
- Respect each other we all come from different backgrounds
- Don’t touch someone’s else material without asking
- If you act like a dick you’re out
Purpose
- Learn by doing
- Reduce roadblocks in learning
- This is not an exhaustive class (by far)
What you’ll get
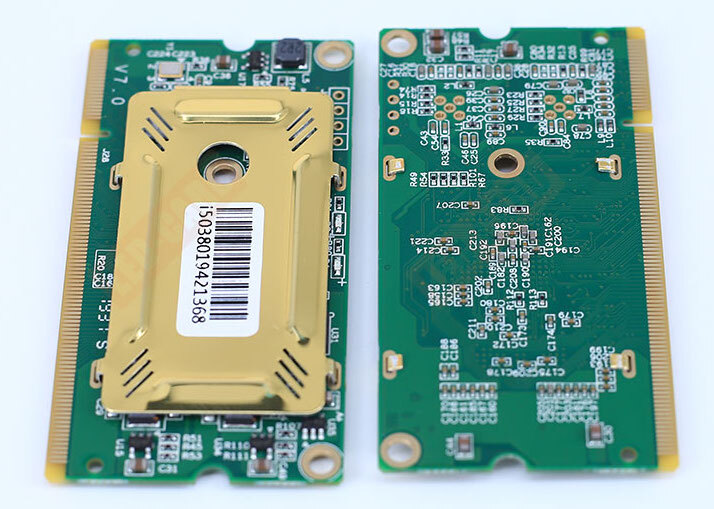
Colorlight i5
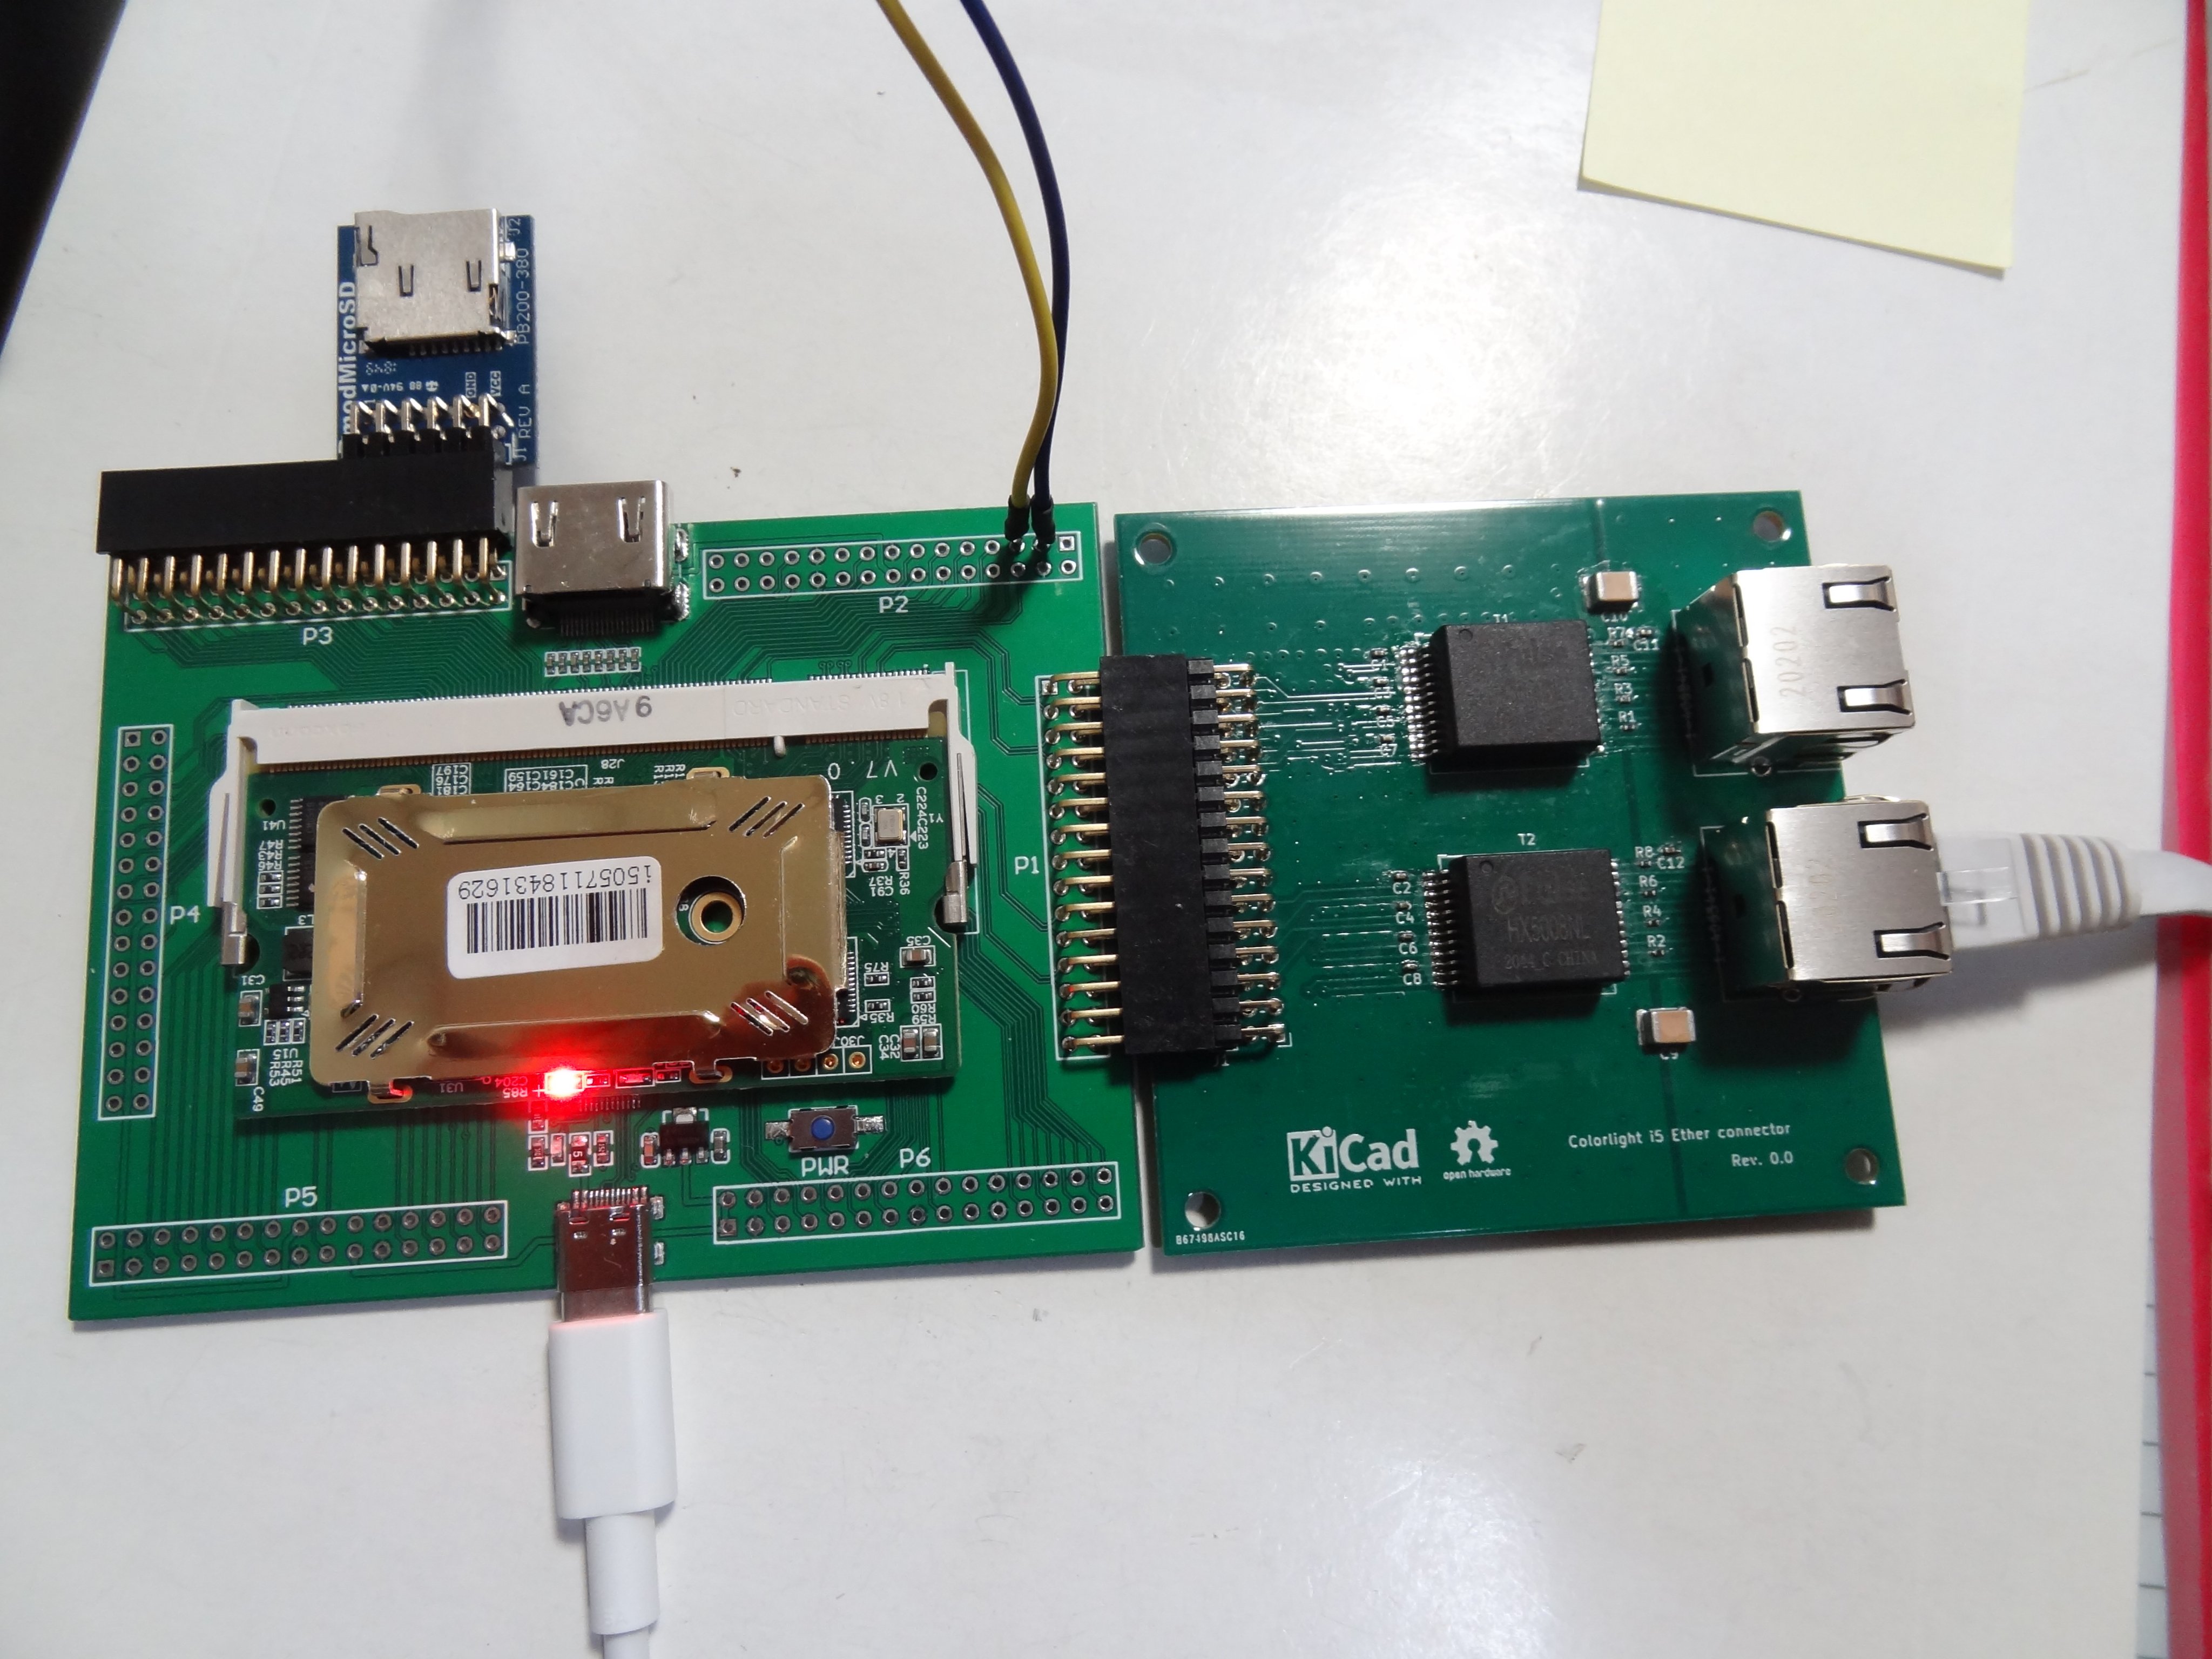
The board with the FPGA on it, in a SODIMM (DDR-2) format (don’t try to put it in a computer you’ll be really unhappy) Originally made to control LEDs on giant panels.
What you’ll get
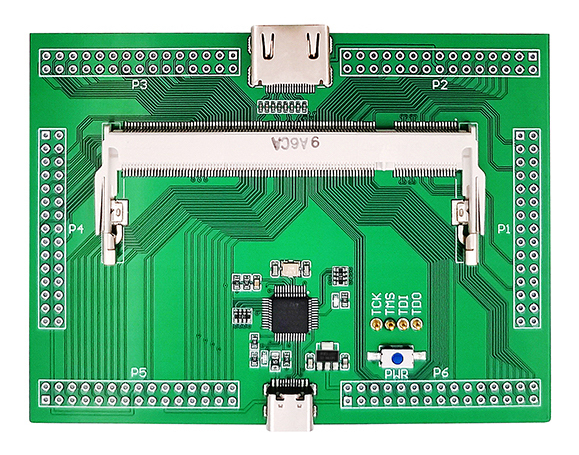
Muse lab's dev board
A support board with a USB-C port for powering, programming and talking to the device. An “HDMI” port. It also exposes most of the GPIOs to the outside as well as the ethernet.
The SODIMM will be already mounted on it, we do not recommend that you remove it. Those ports support 25-ish insertion cycles.
We already mounted the 45 degree pins on the left and right of your board and we will give you the other ones. Careful with the ones next to the HDMI if you mount them, they can block some cables from beeing connected.
Setup
Who had issues setting up?
Basic reminder
Mini-refresher on:
- logic gates
- look-up tables
- flip-flops
(for people online have a look at https://nandland.com/fpga-101/)
ECP5 (your FPGA) organization: https://bjonnh.github.io/fpga_class_psone/candyjar/ecp5/index.html
Lesson 1
Blinky
The life of a digital designer
It is all about abstractions.
At the root we have the semiconductors: Asianometry Semiconductor videos
And you can design your own chip now: ZeroToASIC Course Efabless
Reuse reuse reuse: https://opencores.org/
From silicon

Silicon Crystal
To … magic …
Magic
You’re not going to design with masks
We need something more abstract that will generate the design you want without having to deal (too much) with the reality of the device.
You met Verilog already but it has cousins: VHDL, SystemVerilog.
This allows you not only to describe how to define a system, but also how to simulate and test it (out of scope for this class)
And you use the same language for your FPGA or your ASIC (ASICs are out of scope but go see the links in the previous slides).
The big (and complex) picture
- Verilog gets synthesized (Yosys) to an optimized design for your device
- This optimized design gets mapped (Yosys) to your specific chip abilities
- And things then get routed to be places on the chip itself
- The description is then packaged into a bitstream that the FPGA can use
Already a programmer?
You’ll have to shift your mind a little.
We talk about synthesizable and non-synthesizable code. There are some things that cannot be expressed easily in HDLs.
- There is no notion of delays (but you can make your own by counting clocks or using counters)
- Loops have to be simpler (but you have state machines so you can make your own)
- Things can happen at the same time, but sometimes not exactly due to delays
- Order of operations can be … tricky… You have to manage state
Lesson 2
Blinky but with purpose
IOs
The IOs on a FPGA are usually GPIOs (General Purpose IOs). Meaning the same pin can act as an input or an output.
- When it is an input, it can have raw outputs or pull-downs and pull-ups.
- When it is an output, it can have three levels 0, 1 and high-impedance (Z)
Make sure you understand the specificity of your device, it is really easy to burn a chip.
The IOs are usually safe during loading (high-impedance) and will only be activated once the bitstream is loaded and all the clocks are ready.
Clock domains
Lesson 3
SoC with LiteX
Lesson 4 (only for Linux and Mac users sorry)
SoC with a RiscV cpu